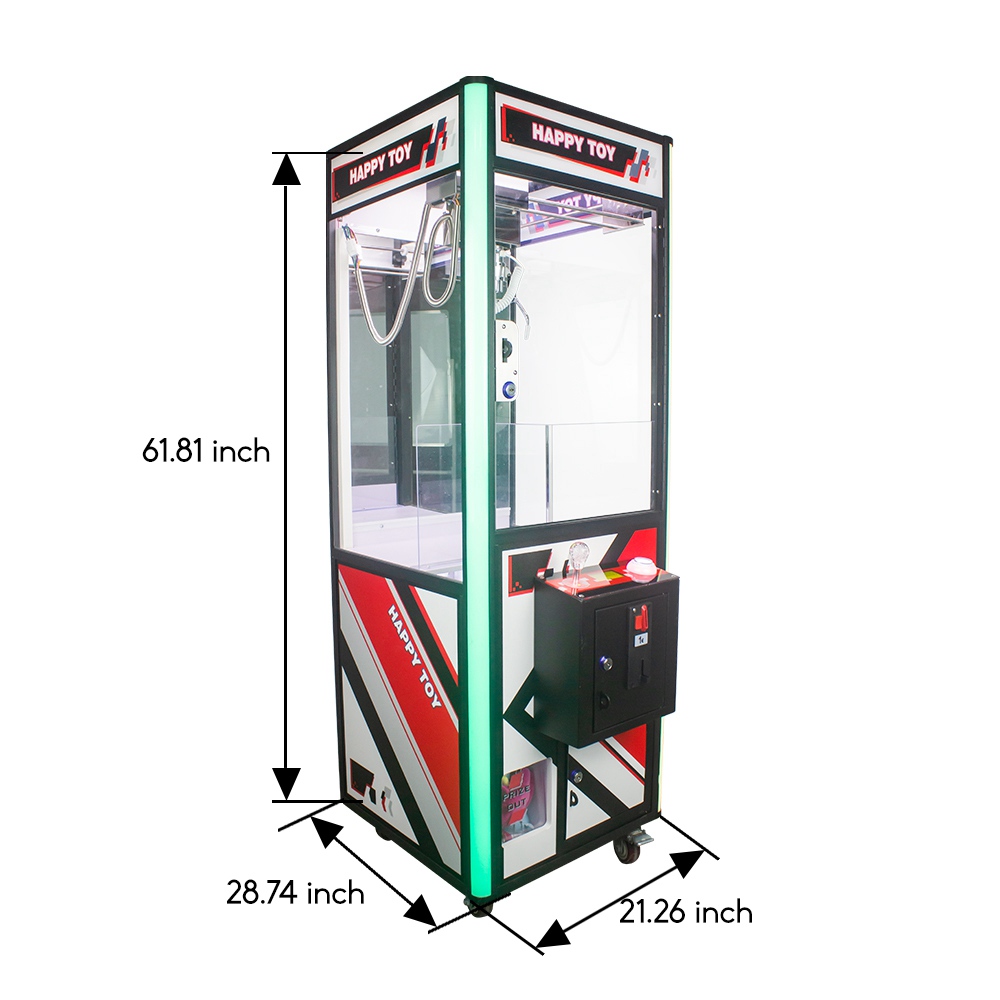
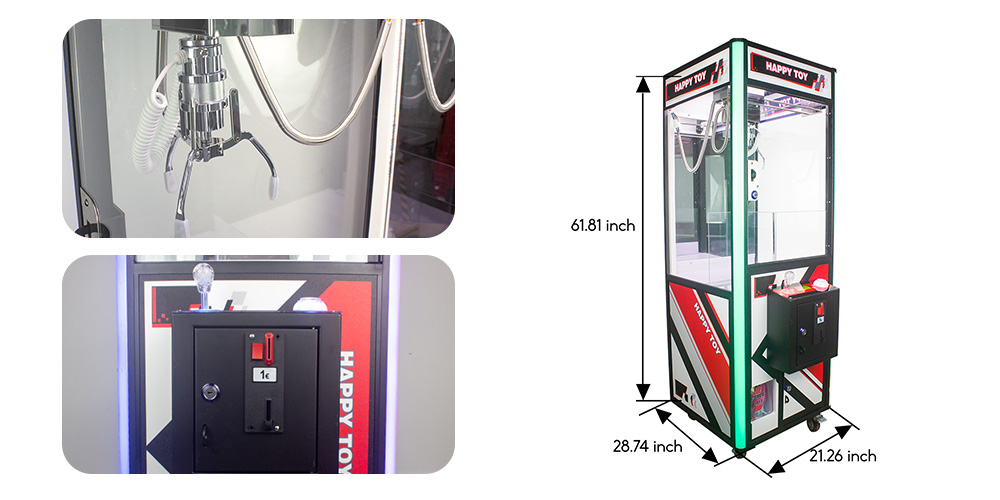
To replace parts in a claw machine, first power off and unplug the machine. Identify the faulty component, such as the claw motor, joystick, or wiring. For claw motors, remove the top panel and disconnect the motor from its harness, then install the new one. For joystick replacements, open the control panel and swap the faulty joystick by unscrewing and reconnecting wires. Regular maintenance helps—check belts and sensors every three months. Replacement parts usually range from $10 to $150 depending on the part.
Table of Contents
TogglePreparing for Replacement
Before you start to replace the components, prepare by collecting some parts. Always make sure the machine is not plugged into an outlet and give your system up to 5 minutes to discharge if you just turned it off to allow residual current on the units’ capacitors to drain. Second, collect all tools required: screwdrivers (slotted and cross-slotted), wrenches, adequate pliers, and a multimeter. After that, read the user manual of the claw machine carefully to learn where exactly your parts are and how to disassemble them. Finally, always work in a dry, bright, antistatic environment to prevent equipment damage.

Common Parts Replacement
Claw Assembly: The claw assembly is the heart and soul of a claw machine, mechanically speaking, as it grabs and releases the plushies in the game. Actually, it is not tough to replace the claw assembly. Open the shell of the claw machine with a screwdriver and locate the claw assembly. Remove the screws, and be careful not to lose them. Disconnect power and signal wires from the claw assembly, taking care to use a multimeter to verify no voltage on the power wire. Remove the old claw assembly, mount the new claw assembly, and reconnect the power and signal wires securely. Finally, switch on the machine and test the new claw assembly. After confirming that everything is fine, close up the outer shell and test the claw’s grabbing and releasing functions.
Motor: The motor is a key component for the claw’s movement. If the motor fails, it is not hard to fix. Open the shell and locate the motor, making sure to note its orientation and wire connections. Use a multimeter to measure the voltage to ensure it is zero before disconnecting it from the control board. Remove the old motor, install the new motor, and reconnect it to the control board. Power on the machine and test if the new motor works well. After confirming that the speed and direction are normal, reassemble the shell.
Control Board: The control board is the brain of the claw machine, controlling all movements. Before changing it, locate the control board and mark the installation direction and wire connections. Carefully unplug all the power and signal wires connected to the control board, ensuring each cable is completely disconnected. Remove the old control board, install the new one, and reconnect all cables securely. Power up the machine and check if it works correctly. After confirming everything is fine, reassemble the outer shell.
Lighting System: The lighting system affects both the attractiveness and aesthetics of the claw machine. Replacing the lighting system is very simple. Open the shell and locate the light bulb, marking the installation direction and wire connections. Disconnect the power wires to the lighting system, ensuring it is safe by checking for no voltage. Remove the old bulb, install the new one, and reconnect the power wires securely. Power on the machine and see if the new light bulb works properly. Ensure the brightness and color are correct before reassembling the shell.
Coin Acceptor: The coin acceptor is a crucial part of the claw machine’s payment system. If the coin acceptor fails, open the shell and locate it, marking the installation direction and wire connections. Disconnect the coin acceptor from the control board and use a multimeter to ensure all power is disconnected. Remove the old coin acceptor, install the new one, and reconnect it to the control board. Power on the machine and test if the new coin acceptor works properly. Ensure it recognizes coins correctly before reassembling the shell.

Precautions
When replacing parts, ensure there is no electricity. Always use authentic manufacturer parts whenever possible, as they usually have a longer lifespan and better stability. Inspect and clean the claw machine regularly, and replace any worn-out or malfunctioning parts to prolong its lifespan. Conduct a thorough inspection every month and a comprehensive inspection each quarter. If you do not understand the claw machine and part replacement operation, seek help from a professional technician or consult the manufacturer’s after-sale service. Record the time and reason for each part replacement and operation details to provide a maintenance reference.


