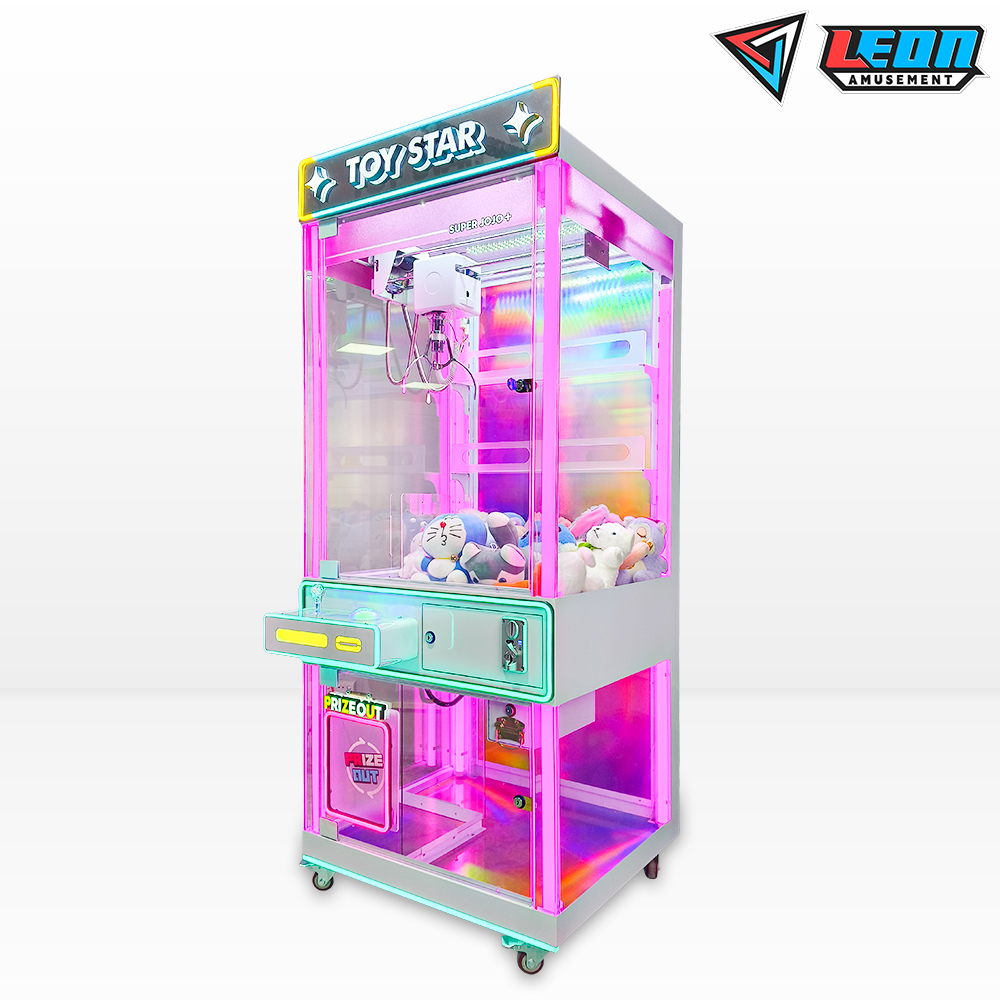
To DIY your first claw machine, start with a sturdy frame, such as wood or metal, measuring around 60cm x 40cm x 80cm for a small model. Use a motorized claw mechanism connected to a joystick and control board. For the claw, repurpose small motors or buy a claw kit online for about $20-$50. Set up a prize drop area and program the claw’s movements with basic electronics. Power the system with a 12V power supply.
Materials List
Collect your materials first before you make the claw machine. Cabinet Box Build (Use medium OSB for the boxes). To make one, get as follows: two 38-inch × 24-inch panels; two side rails measuring 38 inches from the back to front and that are each around 18 inches high (the lid will rest on these); a bottom panel of dry plywood cut down to precisely fit inside for the slide-out bin. To add injury to insult, you ALSO need the plastic tracks for claw movement. Buy some relays and cables for all of the electronic components to work properly. Controlling claw with joystick and buttons, & X/Y/Z axis of the robot. Prepare LED lights to decorate.
Apart from raw materials, some other auxiliary materials and tools are needed. For example, screwing together wooden boards to make sure the cabinet parts are fixed to one another. You definitely need some 12V coil voltage relays and a whole bunch of cables with connectors. Gather decorative lights (LEDs, buttons). It is advisable to have typical tools for cutting and assembling boards such as saws, electric drills, or screwdrivers. Make sure to go over all materials and tools on the list before you begin so that there will be no material shortages during production.
Design and Preparation
In the design and preparation phase, cut the boards based on the design drawings. You need 38-inch × 24-inch panels for the front and back, two side panels that are two 38-inch × 18-inch, and a bottom panel that is one 24-inch × 18-inch, top panel. Precisely measure and mark all openings for prize drops, as well as electronic device control on the front panel and bottom panel when cutting. The assembly of the plastic tracks also has to be designed with screws and glue.
Before hoarding, make sure how the electronic part is placed and installed so that later when you come to launch, the process is easier. Make sure you have enough room to install relays, joysticks, and buttons. Pre-plan the LED light installation location and wiring, to better aesthetics and easy operation. Design simulation can be done using sketches or modeling software to confirm all components fit and are kinematically coupled. As soon as all revised materials and designs are in order, you can proceed to the actual production process.
Assembling the Cabinet
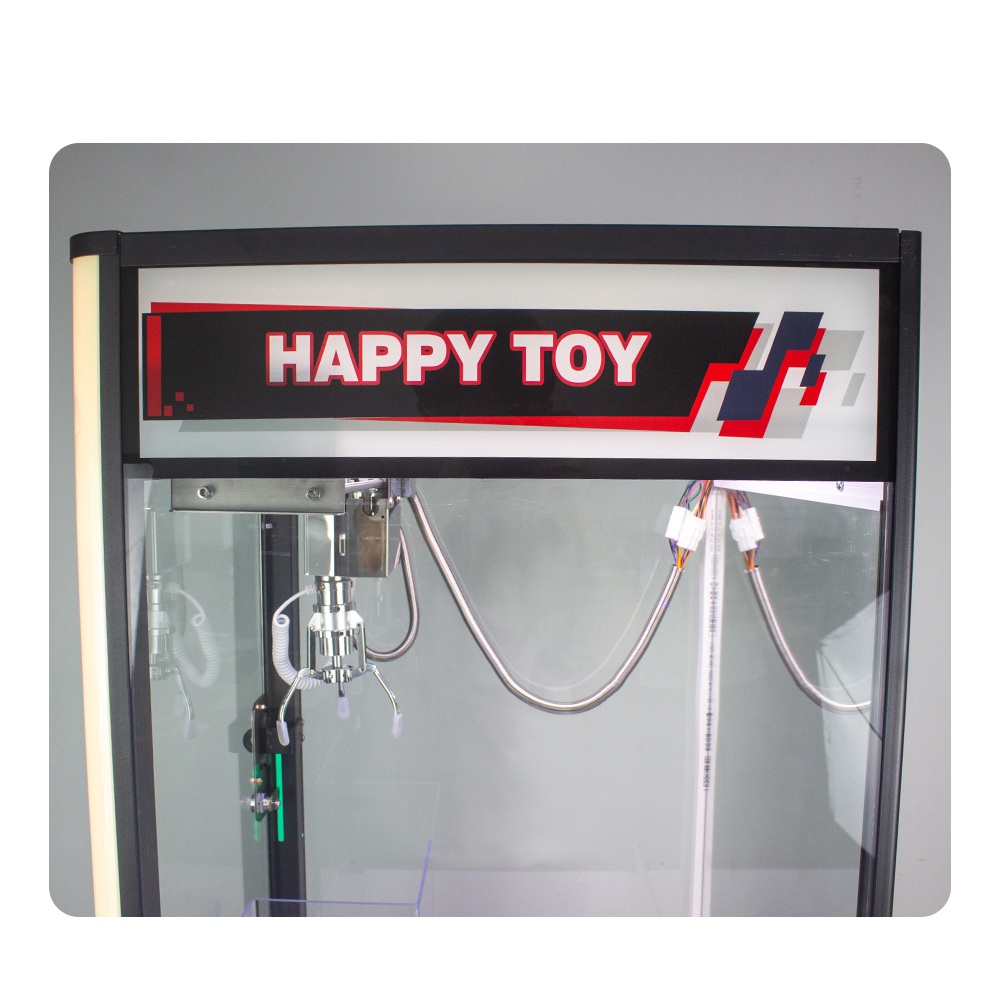
Fit the front and back panels of 38-inch × 24-inch, and side panels of 38-inch × 18-inch to provide your assembly with perfect dimensions. Secure these panels to a frame with screws and wood glue. Add plastic tracks to the tops of both short sides. Open an opening in the front panel to see inside and a small opening at the bottom for dropping prizes.
Get your tools and materials ready: That includes wood glue, screws, and an electric drill. Wood glue hardens the wood joints, screws solidify the structure, and an electric drill to make holes in your lumber. Join four side panels to the bottom panel, create a box, and join the top plate too. Sand the edges and surfaces with sandpaper, paying attention to any burrs or roughness that may have resulted. With the cabinet frame assembled, you may begin to install your electronics and mechanical components.
Electronic Parts
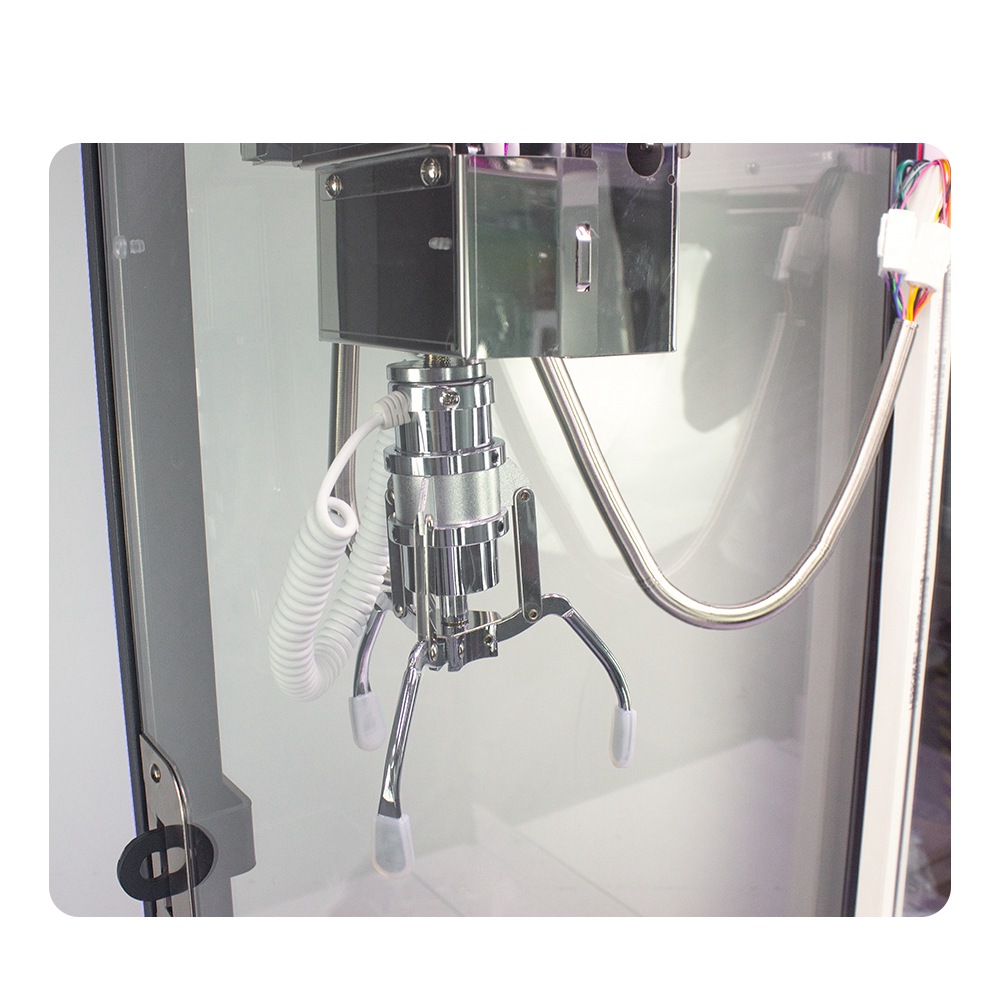
Start with an Arduino or similar microcontroller to control the movements of the claw. To allow the claw to move on its three axes (X/Y/Z), you will need some 12V coil voltage relays. You will have to prepare a huge number of cables to connect the relays and microcontroller. Controlling the movement of the claw is done via joysticks and buttons. Include LED lights for show and tell. This would be great to make these applications more interactive, visually engaging, or providing feedback based on the user’s inputs/activity from sensor output.
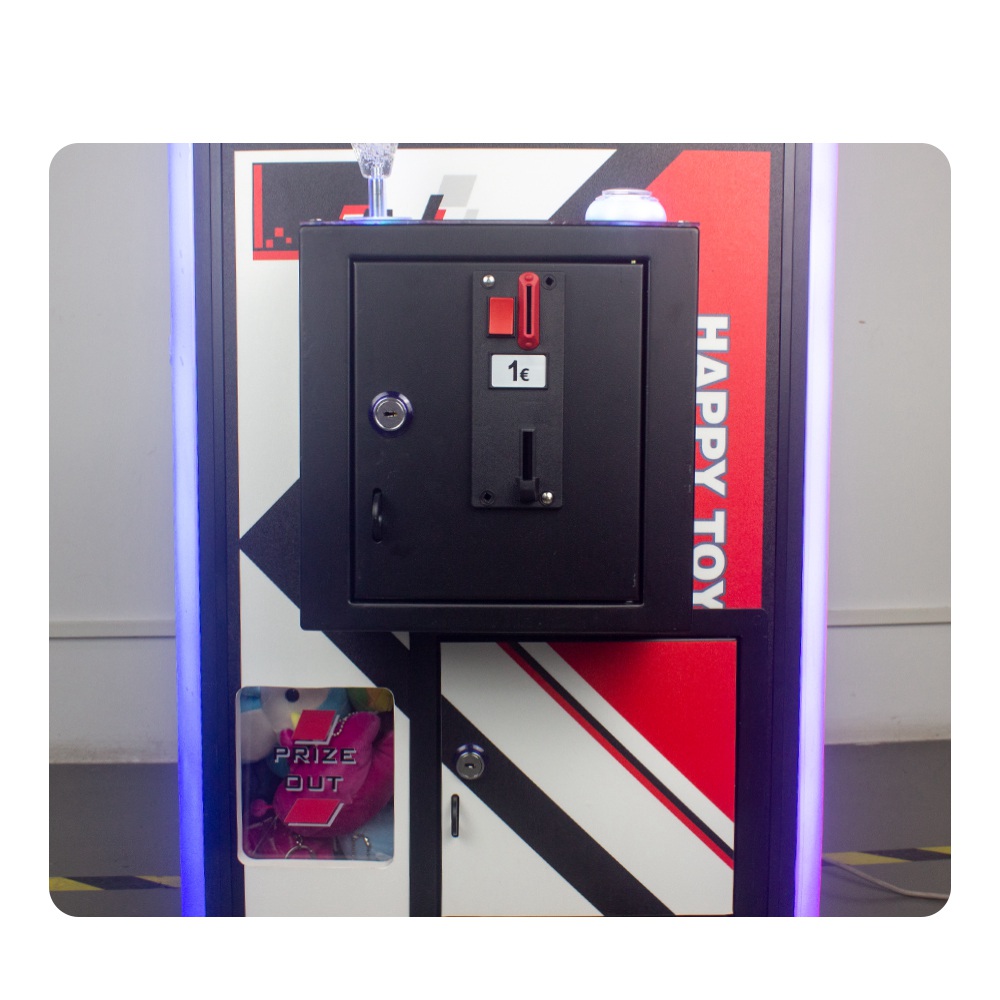
Prepare some additional electronic components, like resistors, capacitors, and diodes to stabilize the circuit and protect the parts. Select a power adapter that will give you constant voltage and current. If you want, you can add a speaker for the background music and sound effects of games or an LCD screen to display playing time & score. To have a safe and maintainable solution, be sure to use good connectors and welding tools. It is advisable to add fuses and circuit protection devices.
Mechanical Parts
Mechanical is a very important part when making a claw machine. The claw and mechanical parts that make it need to be prepared. On one hand, you could just buy one and attach it, or do the proper thing and put together a claw with lift-up/lay-down functionality yourself. You need stepper motors to move the claw. Each axis requires its own stepper motor. Ask friends for spare rails or drive belts. Screws related to the mechanical parts, nuts, angle brackets, and bases.
You will also need some extra pulling devices and steel wires that must be used to allow the claw to move up or down. The next step is to move the gears; obtain two pulleys (assuming it’s a 1:2 transmission ratio) and set them up, one of which must connect with your motor so that the claws are also attached. Use strong and low-wear-resistant materials to increase the service life of the machine. Have at least some basic wrenches, pliers, and screwdrivers on hand and lubricating oil for the maintenance of your rails and drive belts. There is nothing surprising that it requires a good deal of effort to reasonably install, resulting in a stable and powerful claw machine.
Decoration and Improvement
It is very important to decorate the claw machine and work together with decoration and improvement. Get materials for painting the cabinet and make provision for paints; bright colors are often best. Brush quality is also important. Adding aesthetic effects by purchasing LED light strips to decorate all edges and inside of the cabinet will help provide more lighting. Get some nice decorative stickers and patterns to decorate as you like, making your claw machine more special and fun.
Prepare some more gadgets and components to increase interactivity and professionalism. Protect the internal structure with transparent acrylic panels, making them easy to see. Integrate an LCD screen for showing scores and time using Arduino or similar controller blocks. Set up small speakers for playing background music and sound effects, which will make the game process more lively. These materials and tools add a lot of depth to the claw machine itself, making it appear more interesting overall.